skip to main |
skip to sidebar
 And this is what it looks like in place. Once painted black, I hope it will look even less conspicuous. But that will have to wait until after the MOT (the triple trees will get anodized as well).
Took it for a longer spin today, and managed to summon up the courage to let go of the bars at speed. It tracked straight and true. Phew.
 Is "blinker" American English BTW? Anyway: I've been unable to find a solution for where I should place the front indicators on my bike. At one point I thought about integrating them into the top triple tree, but changed my mind at the last moment. I've also looked into the idea of having them on the ends of the handlebars, but since the flat track bars are quite wide, I dismissed that idea as well. In the end it became apparent that I needed some sort of custom made bracket to put them on the forks. The Swedish rules state that the indicator lenses need to be at least 240 mm apart and cannot sit together with the headlight.
Anyhow, I made a drawing, brought one of my mini indicators with me and payed a visit to "Kent" the aluminium wizard who lives about 20 klicks from me. Three days later I picked up the bracket in the picture. It looks huge, but it is only as wide as the forks and it will sit – turned upside down – underneath the lower triple tree and only about 25% of it will be visible. The bracket will be painted black in order not to stand out against the black fork tubes and only the curved parts at the ends will protude out and to the sides when the bike is watched from the front (and, no there isn't room to mount the indicators behind the fork tubes - the radiators are in the way.). Now I just need to get the airfilter and the rear light (it refuses to work as advertised) sorted. Then I can book an appointment with the M.O.T inspector.
 Believe it or not, but after having gone through the usual start procedure (choke out, five kicks with the decompression handle held in, choke in) the trusty big bore Husky engine fired up as if it was just yesterday, never mind two years since it last barked into life!
To say I was elated is an understatement. I didn't quite trust my ability to get the new wiring loom right and I guess I've had some subconscious doubt that it would actually work. I've had the flu pretty bad for two days but that was soon forgotten as I very gingerly let the clutch out and did a few really slow laps up and down the street applauded by my oldest son (he's eight and thinks I'm Pierre Terblance and John Britten rolled into one).
First findings? Well the rear spring is way too stiff. No surprise there and I'll just order a new one. It also felt stupidly light! I don't know if that is to do with the fact that the bike is lower now than it was in super moto guise, but it feels as if I could pick it up like a bicycle. I'll weigh it later, but I'm guessing around 130 kg. More soon!
 I have a lot of respect for the way that ISR does things. And not only 'cause they're Swedish. I love the no-nonsense, form-follows-function look of their stuff. And the fact that they are pretty affordable considering the quality.
I discovered a cool feature today when I bled the rear brake caliper. In lieu of the standard type bleed nipple, where you push the clear bleed hose onto the same nipple that you then turn to let the air out, ISR have a nice little system where the bleed nipple and the bleed screw are separated. The brass bleed nipple in the picture is only used when bleeding and thanks to an o-ring, can be threaded in using only finger force (there's one on the back side of the caliper for the other piston as well). The hose stays put since you don't turn the nipple and the blue screw is easily accessible using a 11 mm ring spanner for botch free operation. Perhaps not the biggest innovation ever, but still a nice little feature that I imagine would make a professional spanner man happy.
I'm going to get one of these for the front brake as well...
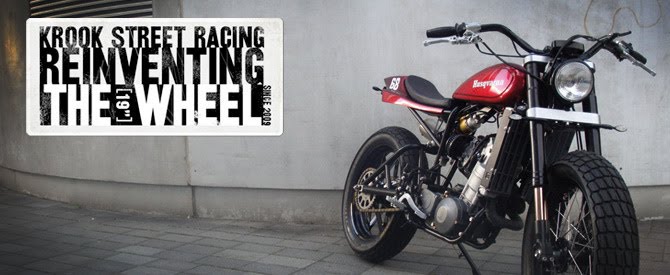
 As you can see from the image, I am now very close to finishing my build. I have a little bit of the new wiring loom still to do (the old one was so bad I just couldn't look at it), some brakes to mount and bleed, exhaust wrap to, er, wrap and a few other minor tweaks before I can hoof the kick starter and – hopefully – revive the engine that has been dormant for almost two years now. Oh yeah, I will mount an air filter from K&N too. If you're wondering if I've lost the plot totally and mounted tires from some 80's two stroke learner bike, then let me explain. You see, the very thorough man from S.F.R.O will not give me the final approval of the bike if I use tires that aren't marked "for road use". Hence the old and tired tires that I got from a wonderful man in Stockholm who runs a shop called "Wheeler Dealer" (if you've met him you know what I'm talking about). Approximately 30 seconds after I get the final M.O.T the bike will be wearing the proper Maxxis tires again. The ugly yellow spring on the Ohlins damper will be painted black by then too. I can now hear the missus dressing up the kids downstairs for a dinner at some of our friends, which "I just don't have the time for, since I have a s**t load of work to do". Time to make a double espresso and head down to my garage...
 And this is what it looks like in place. Once painted black, I hope it will look even less conspicuous. But that will have to wait until after the MOT (the triple trees will get anodized as well).


